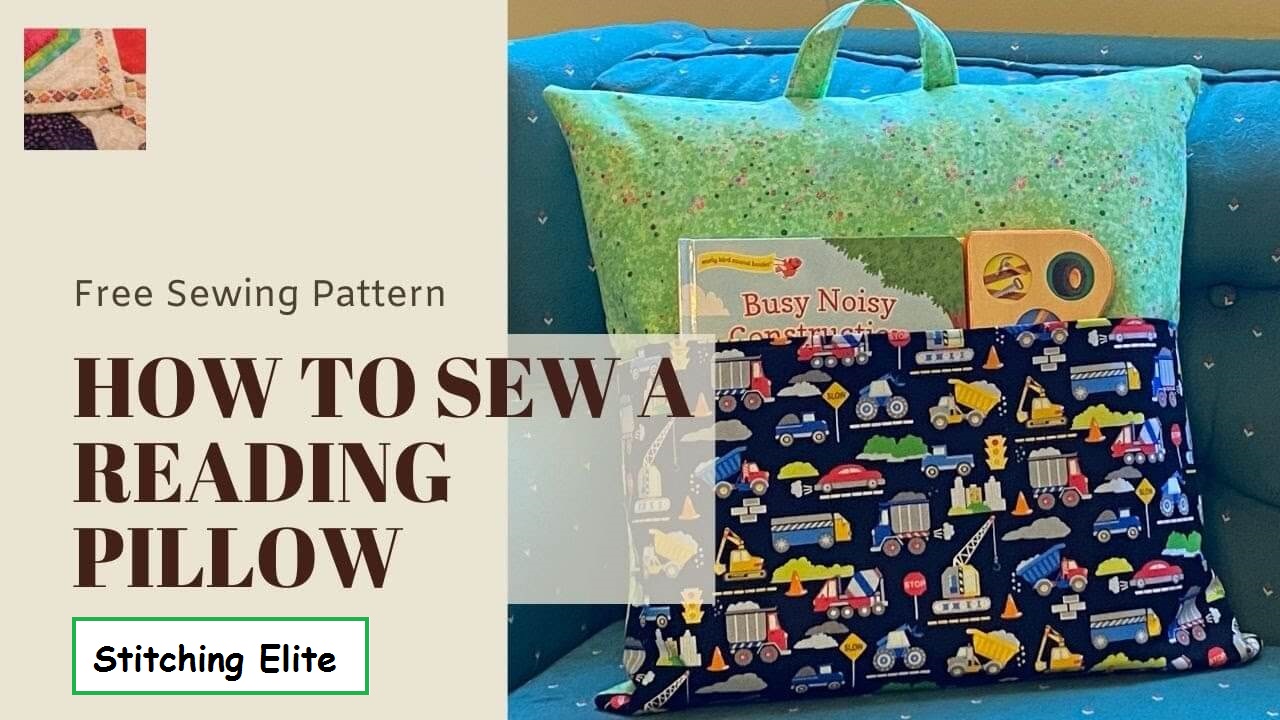
Creating a personalized reading pillow is a delightful project that even beginners can tackle with ease. This DIY guide provides a straightforward sewing pattern to craft a reading pillow, which is not only enjoyable for kids but also functional with its handy pocket and portable handle. Perfect for the bookworms in your life, this pillow will enhance their reading experience with its thoughtful design.
Table of Contents
Why Make a Reading Pillow?
A reading pillow is an excellent addition to any cozy reading nook. The included handle makes it easy to transport to various reading spots, while the pocket keeps books readily accessible. This project also allows for creativity in fabric selection, letting you tailor the pillow to individual tastes.
Materials Needed for Your Reading Pillow

To get started, you’ll need the following materials:
- 100% Cotton Fabric: Choose up to five different prints for a vibrant look.
- Approximately 1/2 yard for the exterior fabric
- Approximately 1/2 yard for the lining fabric
- A fat quarter for a contrasting pocket
- Scraps for the handle
- Lightweight Fusible Interfacing: Suggested products are Pellon PLF36 or Pellon P44F (affiliate links).
- 18″ Pillow Insert
- Basic Sewing Supplies: Ruler, rotary cutter, iron, and a turning tool.
Before you begin, prewash all your fabrics to avoid shrinkage and ensure the best results.
Reading Pillow Cutting Measurements

Here are the cutting measurements you’ll need:
- Main Fabrics:
- Front: 20″ x 20″
- Back (2 pieces): 12″ x 20″
- Pocket: 12″ x 20″
- Handle: 4″ x 10″
- Lining Fabrics:
- Front: 20″ x 20″
- Back (2 pieces): 12″ x 20″
- Pocket: 12″ x 20″
- Interfacing:
- Front: 20″ x 20″
- Back (2 pieces): 12″ x 20″
- Pocket: 12″ x 20″
- Handle: 4″ x 10″
For convenience, you can download and print a version of these dimensions, which also includes a coloring page for designing your pillow—perfect for involving kids in the process.
Step-by-Step Instructions to Make a reading pillow
1. Preparing the Fabrics:
- Begin by fusing the interfacing to the back of each main fabric piece. This lightweight interfacing will provide a crisp finish without compromising the pillow’s softness.

2. Creating the Handle:
- Take the handle fabric piece and press the long edges into the center so the right sides are visible.
- Fold the strip in half again to align the folded edges.
- Topstitch both long edges of the handle, stitching 1/8″ from the edge.

3. Making the Pocket:
- Place the pocket lining piece on top of the pocket main piece with right sides together.
- Sew along the top edge, then flip the pocket right side out and press well.
- Topstitch 1/8″ from the seam for a clean finish.

4. Assembling the Front Piece:
- Place the front main fabric on top of the front lining fabric with wrong sides together.
- Align the pocket piece with the bottom of the front main piece.
- Baste around the front edges, 1/4 inch from the raw edges, to hold the layers together.

5. Preparing the Back Pieces:
- Place the back lining on the back main fabric with right sides together.

- Sew along one long edge.
- Repeat with the second back piece.
- Turn both pieces right side out, press, and topstitch 1/8″ from the edge.

6. Attaching the Handle:
- Pin the handle to the front piece, centering it with about 4″ between the two ends.
- Baste the handle in place.

Final Assembly
1. Assembling the Pillow Cover:
- Place one of the back pieces face down on the front piece, aligning it with the left side.
- Place the second back piece face down, aligning it with the right side. The back pieces should overlap by about 4″ to create an envelope closure.
- Sew around the entire perimeter of the pillow cover, backstitching at the ends for reinforcement.
- Trim the corner seam allowances for a cleaner turn.

2. Finishing Touches:
- Turn the pillow cover right side out and press it well.
- Insert your pillow insert.
Conclusion
Your reading pillow is now ready for use! It not only provides a comfortable spot to enjoy a book but also keeps your reading materials handy. This project is a wonderful way to personalize your reading space and make a cozy, functional addition to any home. Enjoy your new DIY reading pillow and happy reading!
Watch the Reading Pillow video tutorial!


