Can I do embroidery with a sewing machine? Yes, you can use a normal sewing machine to Embroider designs on your fabrics. That’s giving you the opportunity to add your personal touch to your sewing projects. And, allows you to add more personality and detail to your projects, making them unique and distinctive. Despite the limitations on intricate details that an embroidery machine can provide. While a sewing machine can create simple designs ranging from borders to monogram letters or words.
Embroidery is a timeless art form that has been used for centuries to add beauty and elegance to your clothes, accessories, and home décor. It’s a creative way to add a personal touch to your belongings and show off your unique style. Whether you’re a beginner or an expert, using a sewing machine to embroider at home is an enjoyable pastime. It also allows you to express your creativity in a fun and meaningful way. It’s also an excellent way to make handmade gifts for your loved ones, adding a heartfelt touch to every piece. With this exciting guide, anyone can learn how to embroider using a sewing machine right from the comfort of their own home.
Table of Contents
What Do You Need to embroider with a sewing machine?

As a hobbyist in embroidery, I’m sure there’s still much for me to learn about embroidery. But, I found that there are some basic tools necessary to do embroidery on your sewing machine successfully:
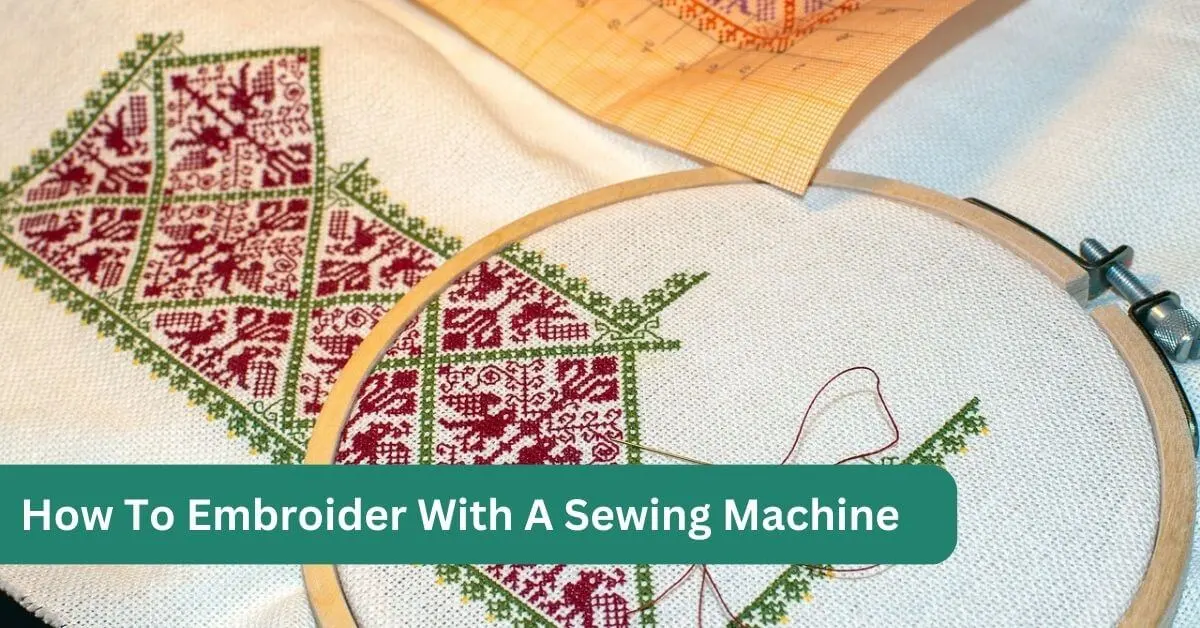
1. Embroidery Hoop
It’s optional but helpful to keep the fabric taut while embroidering.
2. Embroidery Thread
Considered embroidery thread is thicker than regular sewing thread and can be made from rayon, polyester, or cotton. Choose thread colors that match your design and fabric.
3. Embroidery backing or stabilizer
A stabilizer is a material that helps support the fabric while embroidering and prevents it from puckering or stretching.
4. Free motion or quilting foot
A quilting foot is a special sewing machine foot used for free-motion quilting. It’s designed to make it easier to move the fabric in any direction while sewing without worrying about the feed dogs.
5. Embroidery Scissors
You’ll need a sharp pair of scissors to cut the embroidery thread and stabilizer.
6. Embroidery design
You can create your own design or use a pre-made design. Transfer the design onto the fabric using a washable fabric marker or chalk.
How to embroider with a regular sewing machine

Embroidering with your home sewing machine is a fun and creative way to add unique details to your projects. But, it’s important to keep in your mind the necessary steps to ensure your designs turn out well. If you don’t follow the steps outlined, you risk encountering issues that could ruin your project.
1. Choosing Your Design
When you’re designing embroidery patterns for your home sewing machine, it’s best to keep it simple. Your regular sewing machine is not capable of replicating the intricate details that an embroidery machine can produce. So, you should choose designs with straight lines and fewer curves.
Simple patterns like letters, geometric shapes, and flowers are good designs to start your journey. It’s tempting to use many colors in your designs, but this can often be too complicated for a regular machine to handle.
So, stick with a single-color thread to get comfortable with the process before you move on to more complex designs. Remember, start simple and work your way up to more detailed designs.
2. Preparing Your Fabric
Once you’ve gathered all the required supplies and selected your design. Iron or steam your fabric until it is wrinkle-free. Wrinkles can result in difficulties while embroidering and may ruin the final design.
It’s also important to mark out your design onto the right side of the fabric accurately, as any errors would be challenging to fix once you’ve started embroidering. You can use a washable marker or fabric pencil to draw out the design or try using iron-on transfer paper.
Once you put your design in its right place. Make sure to add embroidery backing or stabilizer to ensure the fabric’s stability while stitching.
3. Set Up the Embroidery Hoop
Stretching your fabric in an embroidery hoop is a crucial step in the embroidery process. By doing so, you keep your fabric stable and prevent it from sagging, ensuring that your stitches are neat and uniform.
To begin, place the fabric inside the hoop with the right side facing down. Tighten the hoop until the fabric is taut, but not overly stretched. You want to make sure that the fabric is held securely in place, but not distorted.
As you embroider, make sure to also adjust your hoop as needed, to ensure that your fabric remains firmly in place. By following these steps, you can create beautiful embroidery designs with ease and confidence.
4. Preparing the sewing machine
Once your design is properly set up in the embroidery hoop, the next step is to prepare your sewing machine.
This involves removing the regular presser foot and needle and replacing them with the free motion or quilting foot and new needles. It is important to follow the manufacturer’s instructions for installing these parts to avoid any damage to your machine.
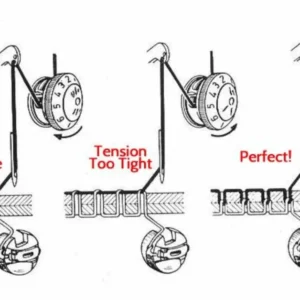
You will also need to set your machine to a straight stitch for outlining your design and a zigzag stitch for filling in the design. Before starting to embroider, we are recommended to practice on a spare piece of fabric to ensure you have the correct stitch length and tension.
5. Embroider your design
Now it’s time to start embroidering! Once you’ve successfully set up your sewing machine and embroidery hoop, it’s time to get started on your design.
Take a deep breath and lift your presser foot, sliding the embroidery hoop underneath so that the needle will be above your design. The right side of your fabric should be facing upward, with the design visible and the fabric pulled taut in the hoop.
As you sew, be sure to go slow and steady, tracing over the lines you’ve drawn onto the fabric with your washable marker or fabric pencil. Keep adjusting the fabric within the hoop as necessary to keep it stable and smooth. With each line you sew, your design will start to come to life, adding personality and detail to your project.
6. finish your project
5 Easy Steps to Finish Your Embroidery Project:
1. Remove the backing: If you used tearaway backing, remove it carefully from the back of your embroidery design. Be sure not to rip or tear any stitches.
2. Trim away excess threads: Use fine scissors to trim away any excess threads that may be sticking out from your embroidery design. This will give it a clean, finished look.
3. Press your fabric: Turn your fabric over and press it on the wrong side with a hot iron on steam. This will help to flatten out any wrinkles and give your embroidery a polished finish.
4. Remove any markings: If you drew your design onto the fabric using a washable marker or fabric pencil, be sure to remove any remaining markings with a damp cloth or by washing them out.
5. Enjoy your finished project: Your embroidered design is now complete and ready to be admired or used in whatever way you intended. Enjoy the satisfaction of having created something beautiful with your own two hands.
What types of needles do you need for embroidery?

If you’re interested in embroidery and have a sewing machine at home, you might be wondering what type of needles you need to use for this craft. Repeated stitching in a small area can cause tears or bunching if you’re not using the right needles.
That’s why it’s important to choose needles appropriate for the weight of the fabric you’re working on. A heavier fabric will need a larger needle, while a lighter fabric will need a smaller needle. Using the wrong size needle can result in damaged fabric and a poorly finished project. Taking the time to choose the right needle for your fabric will help to minimize the damage caused by embroidery. And, ensure your design looks great when you’re finished.
Choosing the right thread for embroidery

When it comes to choosing the right thread for your embroidery project on a sewing machine. Ideally, you should use embroidery thread instead of sewing thread. The main difference between these two types of thread is in their thickness. Because embroidery thread is made out of 2-ply threads and sewing thread is made out of 3-ply threads. This makes embroidery thread thinner and smoother, resulting in better embroidery results.
However, if you don’t have embroidery thread, you can use sewing thread, with cotton or polyester being the best options, as they are stronger and offer better coverage. Just make sure to go slow when using sewing thread to prevent any issues during the embroidery process.
Conclusion
That’s everything you need to know to start embroidering with your sewing machine! We hope this guide was helpful and that you feel confident enough to give it a try. If you have any questions or tips to share, be sure to let us know in the comments below. Happy embroidering!
